List view for Jira enables you to see the issues from back log in a list view. It is simply a spreadsheet like high-level overview of issues. With Filters. Sorting. Search. Custom columns. No JQL needed

In this article you’ll learn how to start using the plugin.
Tutorial
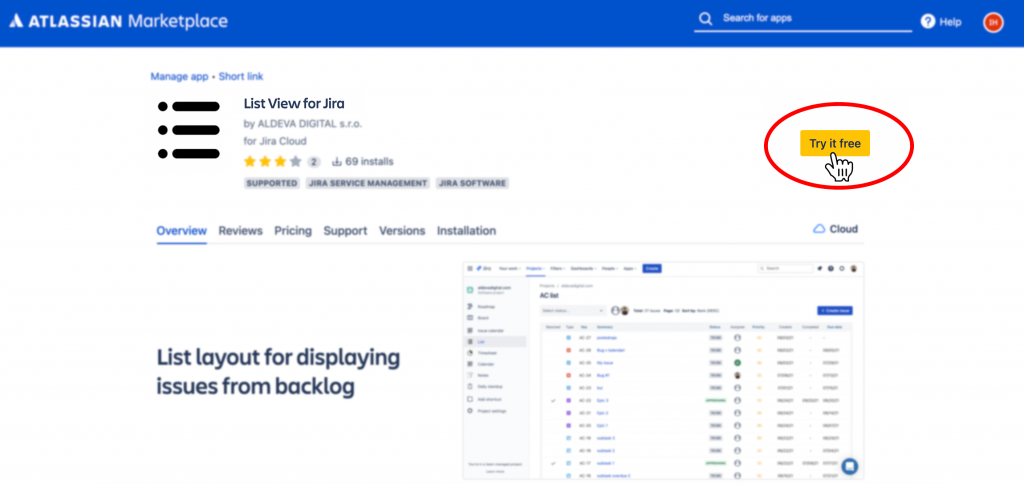
1. Visit Marketplace listing
The first step to using the addon is to install it from the Marketplace listing. To install the addon click “Try it Free“.
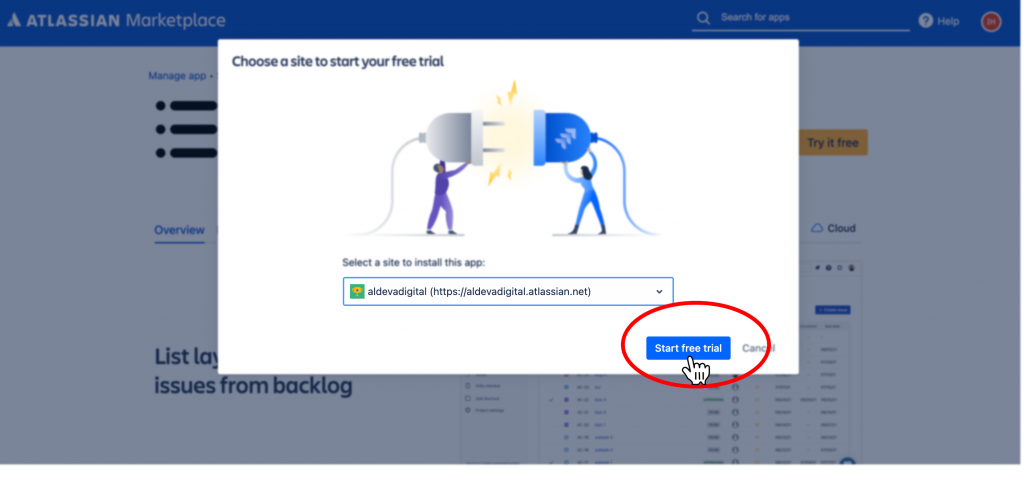
2. Choose a workspace to install
The installation process is going to ask you, inside which Jira instance you would like to install the plugin.
Select the right instance you want to try out the plugin and click “Start free trial“.
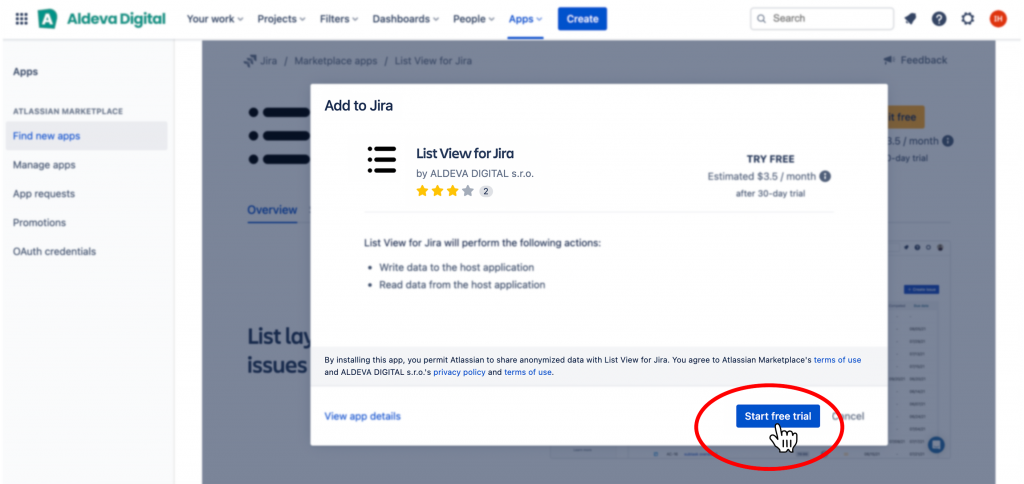
3. Confirm installation
Jira is going to ask you to confirm the installation of the addon. You can check out the plugin’s Terms of Service and Privacy Policy links.
Once you are ready to install click “Start free trial“.
4. Ready to use
After the installation is finished, you and your team can access the Global List View plugin from the left sidebar menu in Jira. From “Apps” section select the option “Global List View“.

Conclusion
In this tutorial you’ve learnt, how to get started with the addon Global List View for Jira.
If you need any additional assistance with setting up the plugin, please contact us at support@aldevadigital.com or use the live chat on the right bottom of the screen.
References: