Creating a custom view allows you to:
- pick a collection of project
- pick a collection of assignees
- create milestones and deadlines for the timeline
Tutorial
1. Create a new view
After opening the app, click the main blue button “+ New View“.

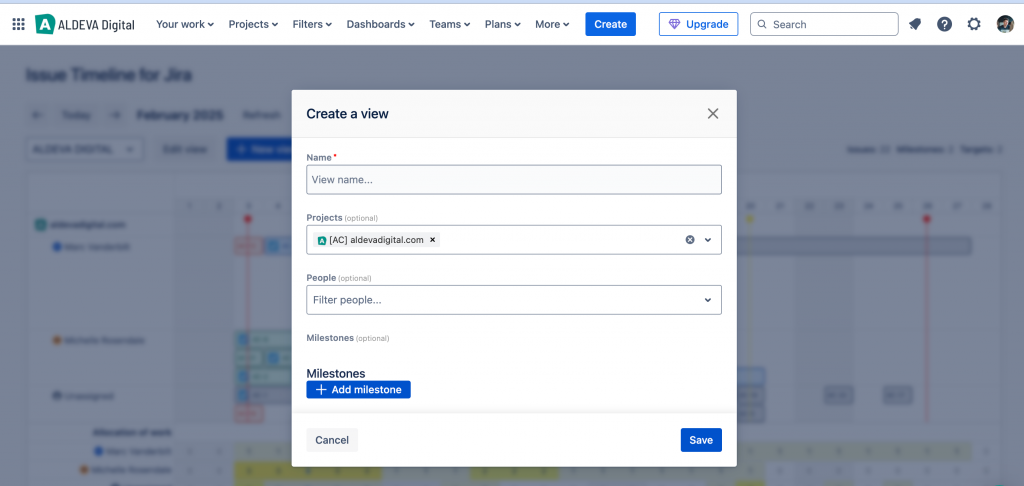
2. Add view information
A popup window shows up in which you enter the required information about your view:
- its name
- attached projects
- attached people from jira (assignees)
And then click “Save“.
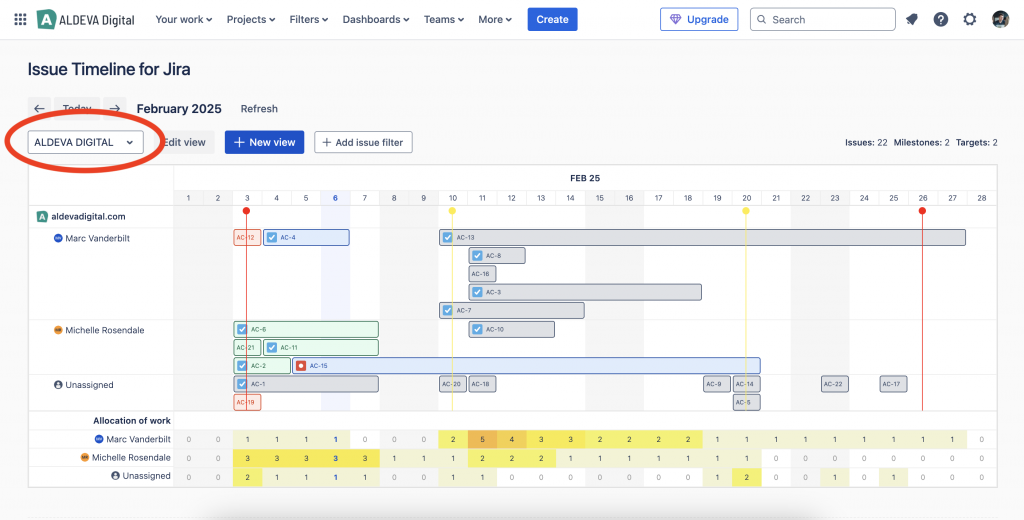
3. View was created
After the view was created, you can find or change a view from within a selectbox on the left.
What’s next
Custom views not only help you to separate projects into different “folders of work”, but also allow to create milestones and deadlines.