Displaying deadlines in a timeline aligns expectations and reinforces accountability.
By setting clear timeframes, you demonstrate efficiency, reliability, and a results-driven approach—helping customers and stakeholders trust your process and plan with confidence.
Tutorial
Creating a deadline on the timeline is really easy. First, create a custom view – and then you’re ready to follow this tutorial to add deadlines.
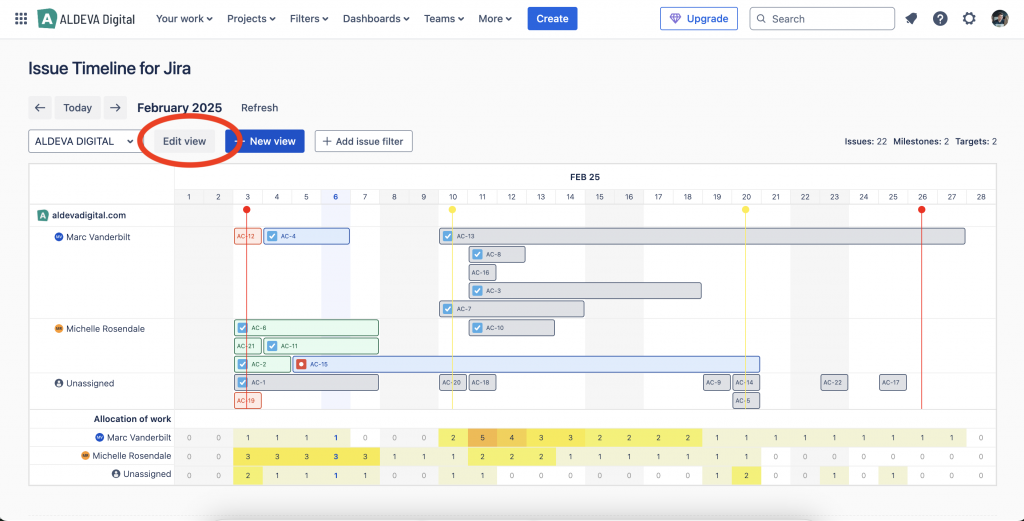
1. Edit the custom view
After selecting the custom view, click “Edit” button next to the selectbox.
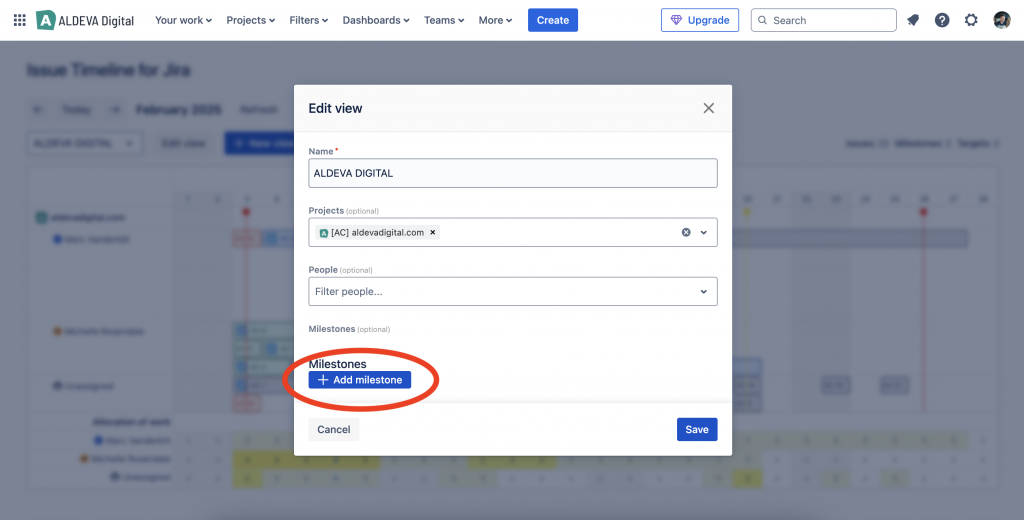
2. Add deadlines
Within the view form, look for “Add milestone” action button.
Then you simply fill-in the required information (name and date). Also, don’t forget to pick a type of “Deadline” from within the selectbox.
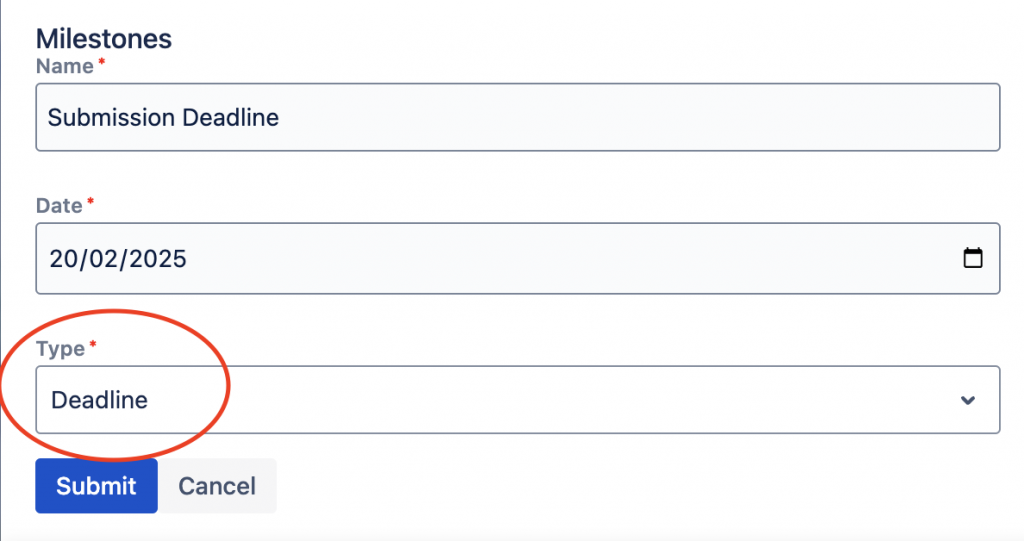
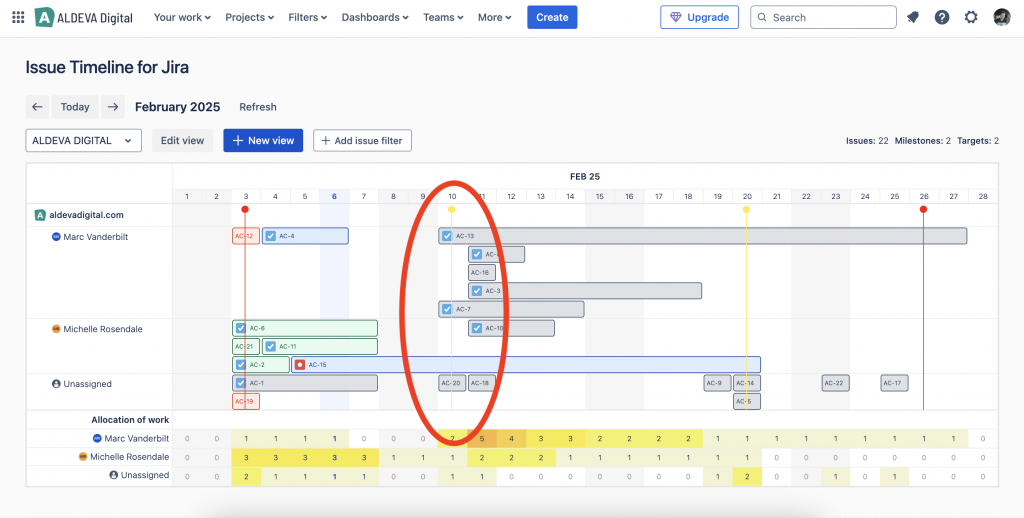
And then click “Save“. After the deadline is created, it is displayed on a timeline in a yellow color.
What’s next
Except for creating deadlines, you can also add milestones to the timeline.